Time for the unveiling! Lots of nice pics here that show off the final product and a lot of stylish staging. (The importance of the latter is underlined by the fact that interested buyers have asked for information on stagers to talk about buying a few pieces.) Am using the large size for your drooling pleasure. Will post some direct before-and-after comparisons later this week.
This photo is familiar from my
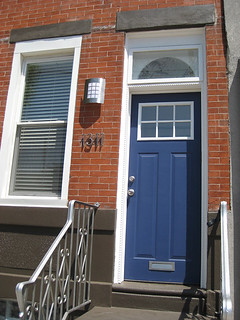
previous "they painted it!" excitement, but I also used it as the first photo in the listing so that it would be the face of the listing (rather than the typical full-front shot, which can run together in the context of Philadelphia townhouses). I think it makes a strong graphical statement, while conveying the relatively contemporary feel of the rehab.
In the event, I ended up replacing the house numbers, because (a) there was damage to the brick from the previous plaque, which looked unpleasant when revealed by free-standing numbers, (b) the numbers were hard to read against the brick, and (c) there was a kind of "snotty" residue around the base of each digit after my guys installed them, and it looked very gross up close. You can see the new number in the before-and-after photo later, but this is the photo that will stay on the listing. Heh, could be a lot of buyers wouldn't even notice.
Here are three photos that give you a sense of the main floor LR/DR space, staging, and features (floor inlay, stair railing, closet, etc.):
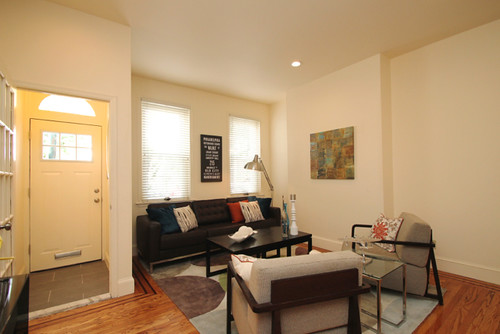 View toward the front of the house, with LR ensemble.
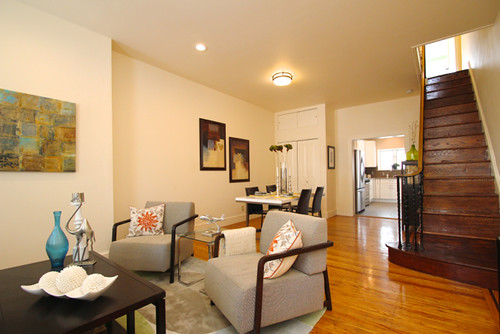 View toward back, including DR area and staircase.
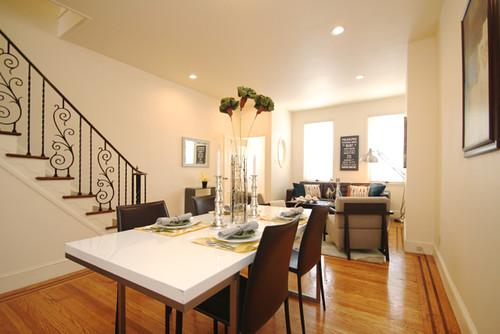 View from DR, including cute bannister (and look at that floor!).
Next up, the fabulous new kitchen! (Cabinets are 42" tall, breakfast bar area completely new, glass cabinet a pure luxury.) Still in love with the concrete-look tile here, and with how it all came together.
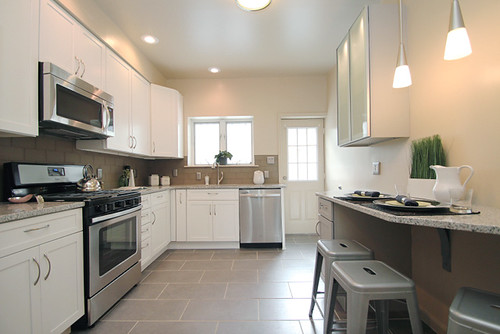 View from LR/DR, showing the whole layout.
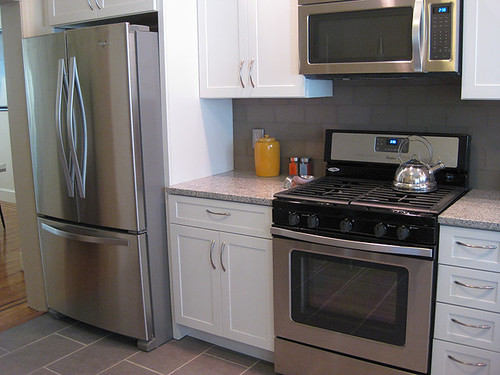 Turning left to show off the fancy appliance suite -- man, I want that stove!
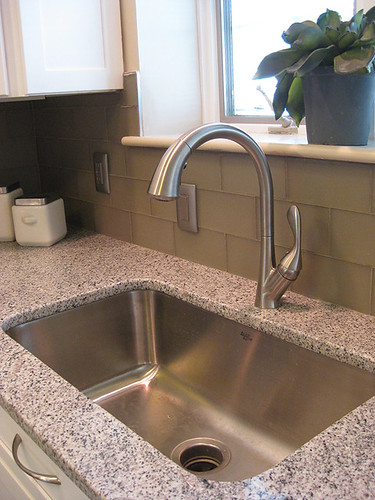 Close-up of extra-large sink, high faucet, fancy glass tile and granite.
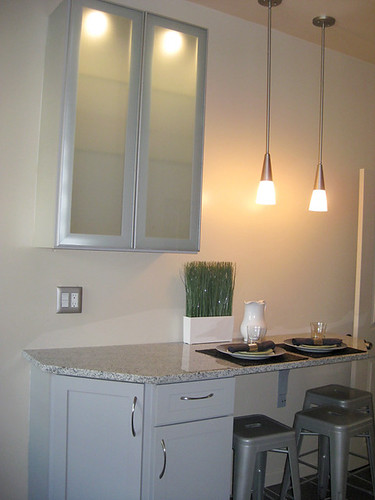 Direct view of glass cabinet, breakfast bar, spiffy lighting.
Last stop on our tour of the first floor is the patio, which has had a face-lift via a good sanding and some paint (which continued onto the rear of the house.
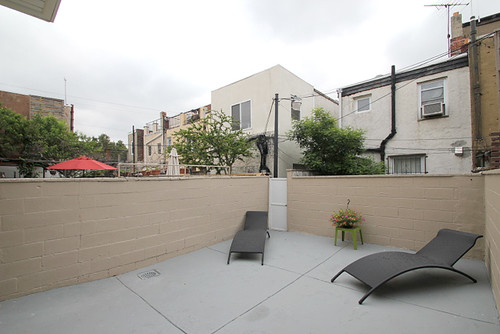 View from the kitchen door. (Flowers from a Speck school fundraiser!)
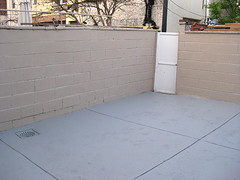
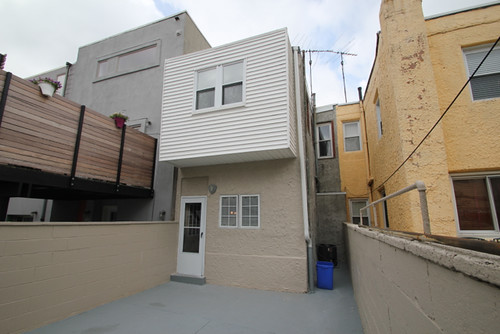 Back of house from patio. New A/C unit visible down side alley.
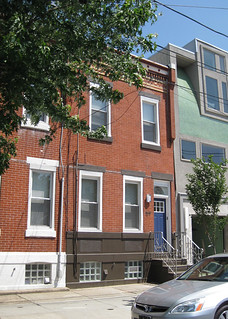
Ok, I'll end with this photo for today -- it's the last photo in the actual listing, but since I'm dividing this bunch of photos by floor, I might as well include it here instead. As you can see, there's not much landscaping with a townhouse, but the city did plant that cute little tree just after I bought the place, so it will probably be shading the front stoop in a few years. If the house had taken longer to generate offers, I would probably have surrounded it with bright little flowers, but now the paperwork stuff is keeping me busy instead.
You can also see that we're next to a similar house (actually a row of them) on one side and a pretty different, radically modern, house on the other. The older houses all use street parking, but the modern house has its own garage, a practice that is at the center of a lot of controversy over new development. Parking turned out to be a worry for many of the folks who visited this house, so I'll have to keep that in mind with future purchases. As much as one can, in a dense metropolitan area!
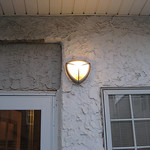
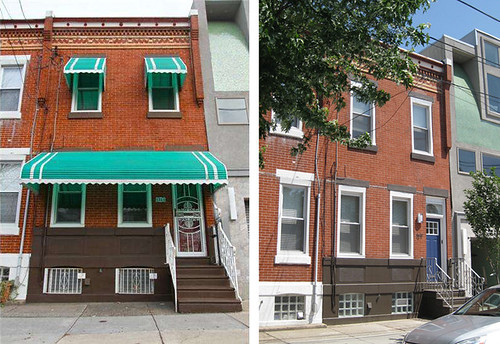 The front. Main changes are removal of awnings and white grilles, but under all that are a new door and more air-tight glass brick basement windows. Plus a porch light and a general freshening up of all surfaces.
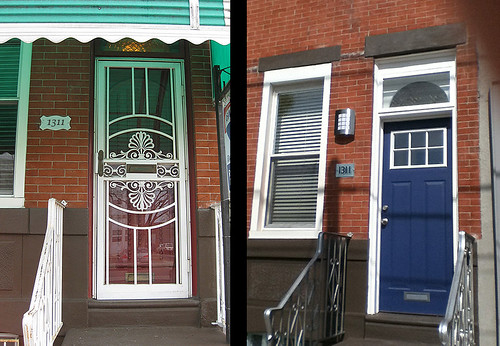 Front door, for completeness and so you can see the new house number plaque.
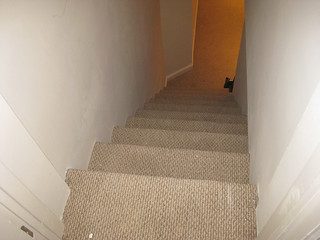
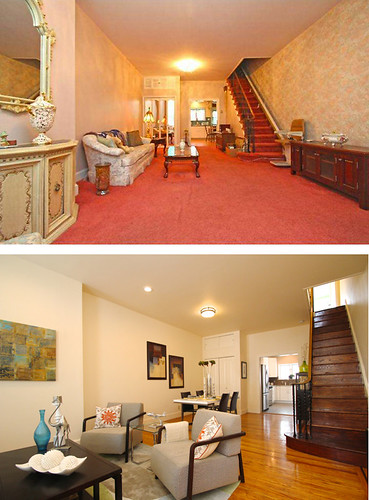 Long view of livingroom. Most obvious is removal of all that carpet, mirrored doors, and crystal-laden lighting. Also goodbye to the wallpaper and hello to a sunny coat of paint. You can also see a motorized lift running up the stairs in the top pic, which got removed along the way.
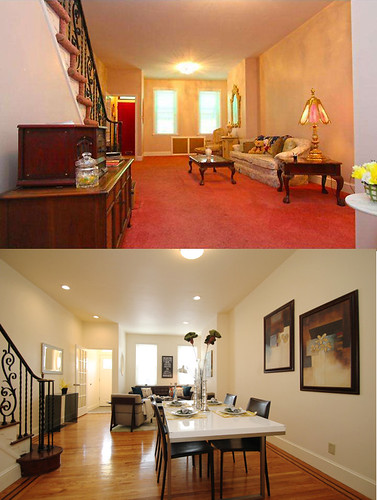 Here's the reverse view, where you can really appreciate the refinished floors and the additional light granted by the removal of the awnings.
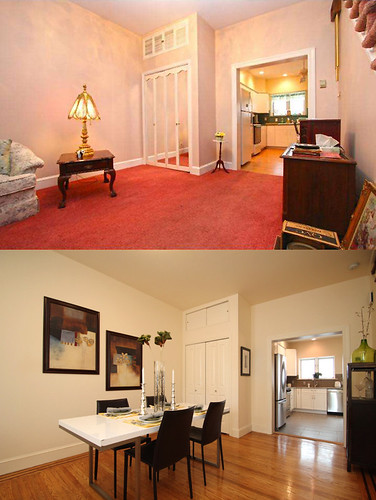 This DR photo is a bit redundant, but I included it because I had the Before shot from the original listing and our real estate photographer took the same angle. Also good for seeing how we replaced all the closet and cupboard doors, and for a glimpse of the kitchen(s) beyond.
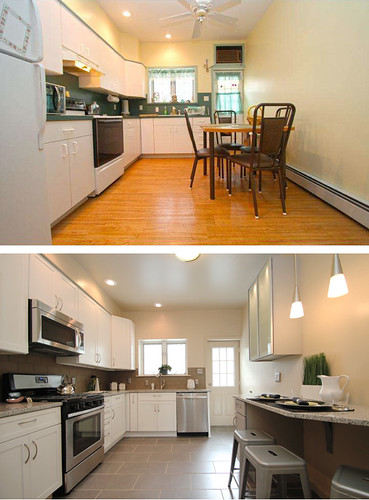 And there's the kitchen: fake wood replaced with tile, extra-tall cupboards, new breakfast bar, and all the rest. This is one of the places that we reap the benefits of having taken out the baseboard radiators (in converting to a forced-air furnace). Made me really happy to take down those little curtains too.
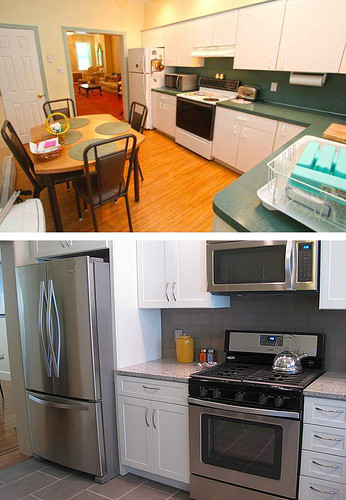 Another kitchen view -- my After doesn't have the fisheye lens that the listing photographer used, but you get the idea. (Still loving how that floor looks, and how all the finishes work together!)
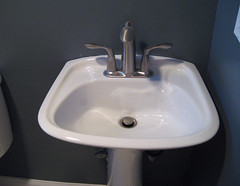
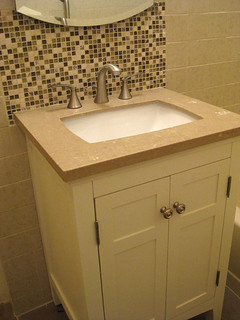
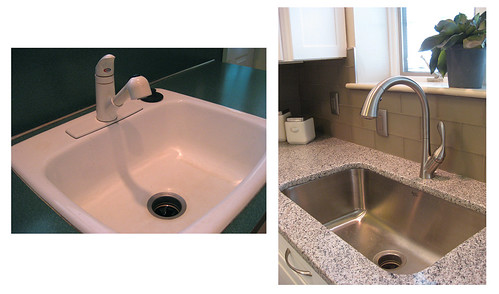 Yes, there was really a white sink before. Not anymore! I worried briefly that the brown glass backsplash would be too dark, but it ended up just perfect -- striking, but basically neutral. yay! Also, loving how the granite looks in person.
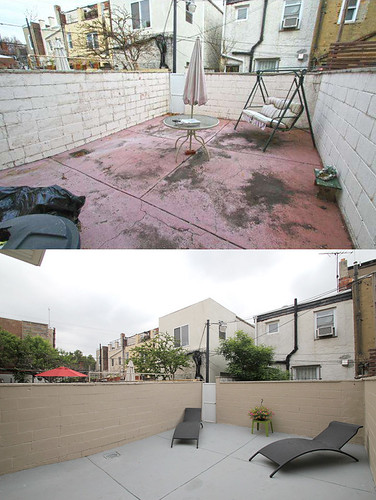 The patio really shows its improvements, although most of what made the original look so dingy was just peeling paint. Still, that's the business of making a house "move-in ready" -- taking care of all those details that make the difference between "finished" and "needs work".
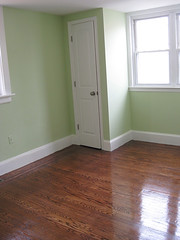
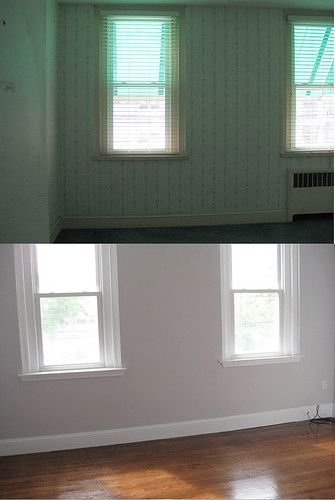 Master bedroom -- you immediately notice the removal of the awnings, wallpaper, and carpet. Invisible is the rebuilding of the left-hand wall, which was hanging in a state free from any supporting studs! You really find some odd things working with rehabs. Anyway, all solid now and ready for hanging pictures.
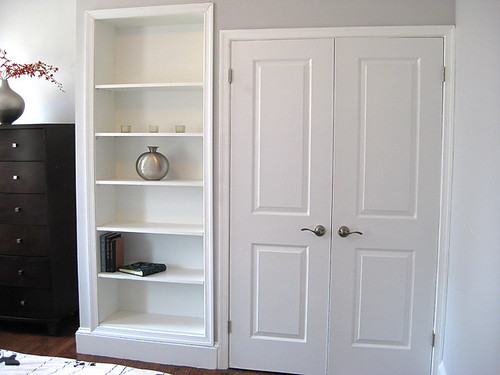
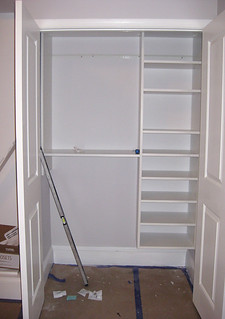
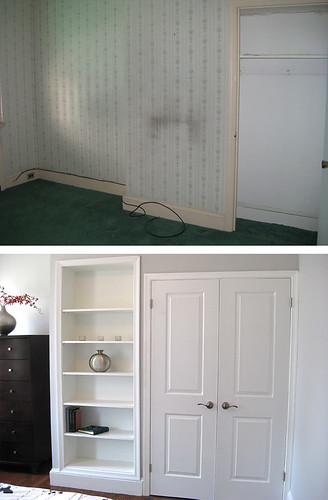 And, of course, the useless 6-in-deep closet in the MBR is now a real (fabulous) closet with a built-in bookcase. Those shallow closets are a killer from both a sales and utility perspective, so this is the kind of fix that makes me feel good about doing this kind of work -- like I'm radically improving the livability of the place.
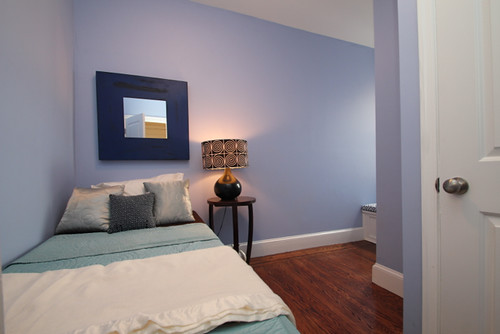
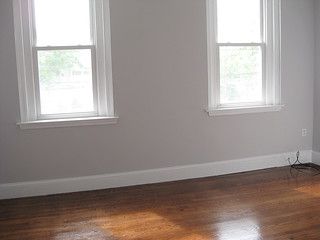
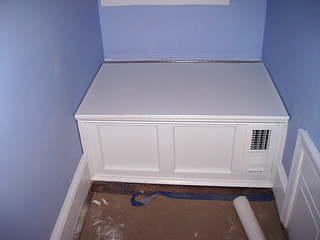
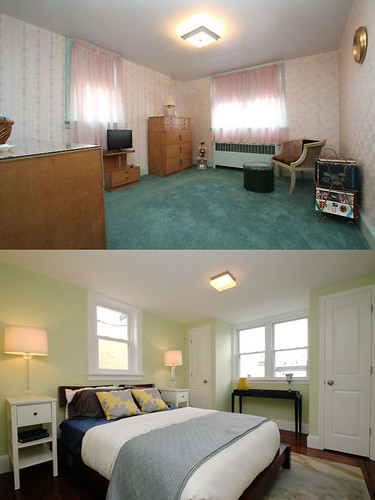
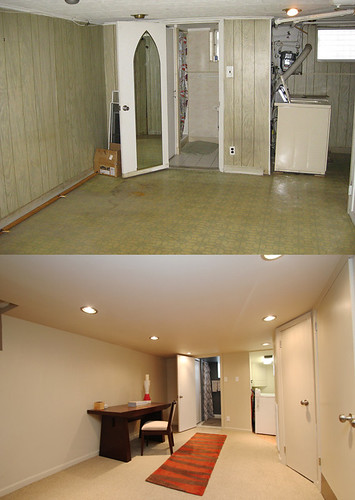
 And, speaking of livability, making sense of this ridiculous room was one of my prime motivations in buying this house. Looks a whole lot more usable now!
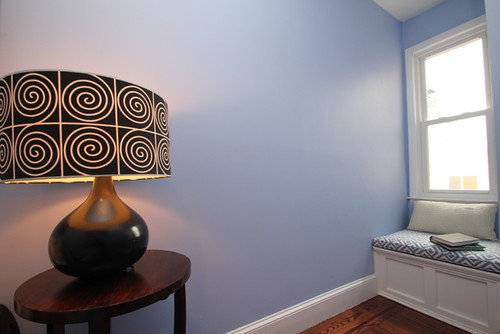
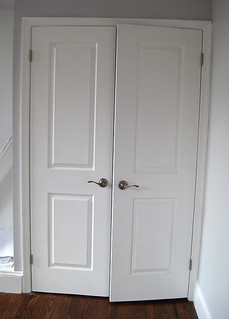
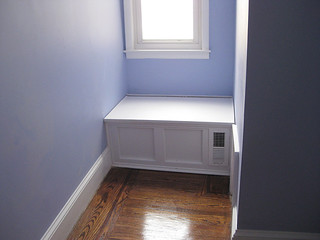
 The Inexplicable Tunnel becomes a normal space with a spiffy window seat (even without the fish-eye lens). Settle in with a good book!
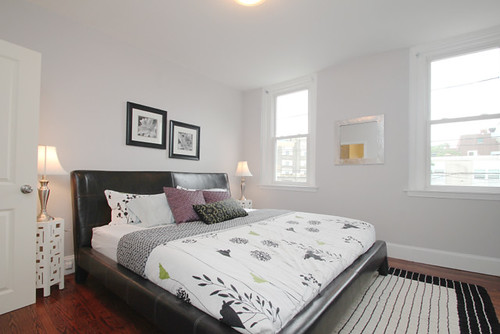
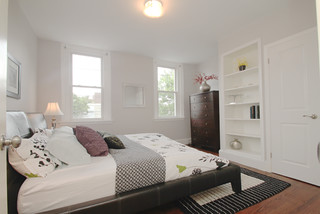
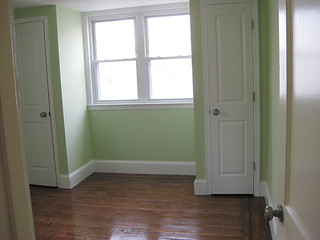
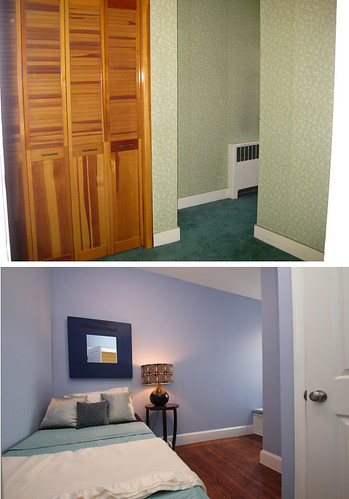
 Third bedroom gets some closets and other love (including shiny wood hidden by that area rug). I'm still amazed that they staged it at this off angle, but it does make for a striking photo from teh doorway, so they probably know more than I do. For living, I'd want my bedroom against the doorway wall, facing the closet-framed window...
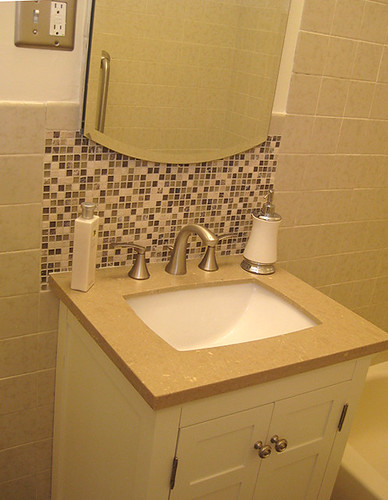
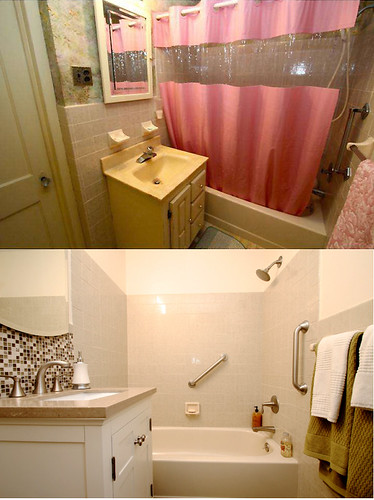 Upstairs bath. You almost can't believe that the wall tile was already there.
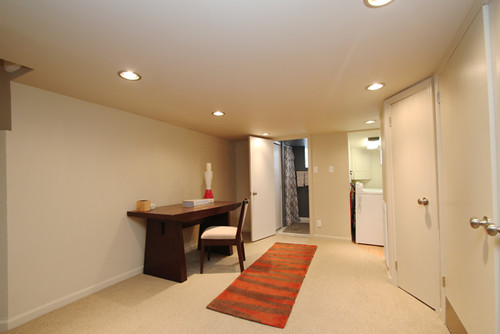
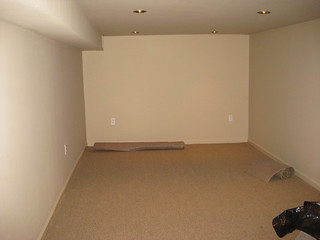
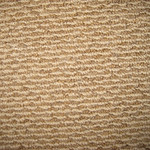
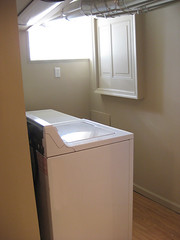
 Basement -- the facelift gets a bit more intensive down here, where every single surface was ripped out and replaced. Especially glad with how nice the carpet came out, but honestly, the biggest lifetime improvement to the place was probably removing the crazy plaster-and-wire ceiling and all the homemade wiring conections that were hidden behind it. That and enclosing all the explosed pipes and meters in the corner with the laundry. All tidied up now!
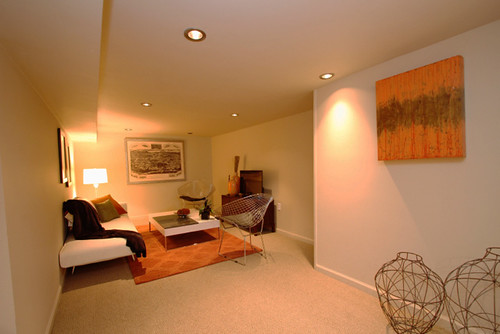
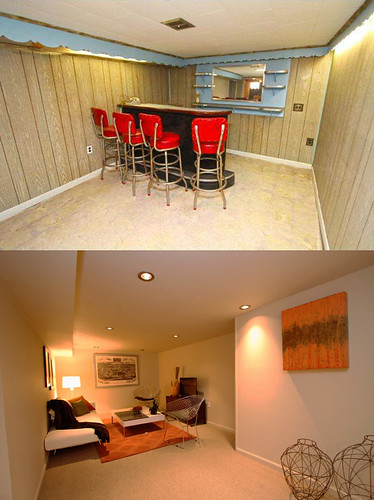 Family room was already finished, but opening up the doorway and updating all the finishes really make the whole basement feel bigger and be more useful. Even a new closet down there for off-season clothes or other stuff...
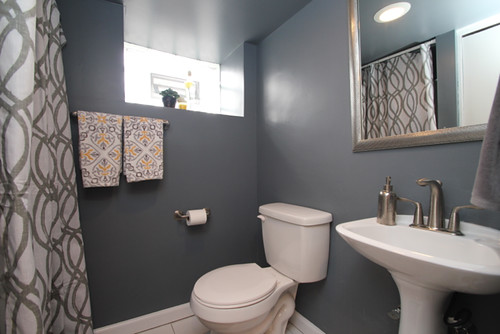
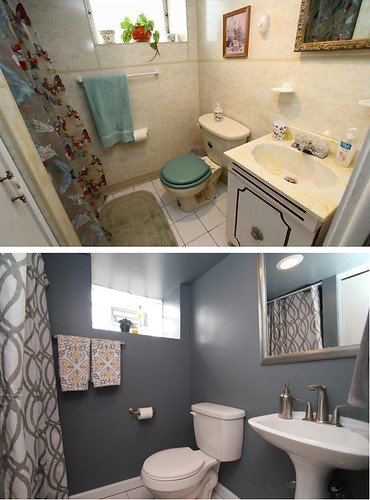 Finally the basement bath, mostly a facelift, although the original had plastic-like wallboard all the way around (see seams in top pic), so getting that out was really great. Plus, the new glass brick window lets in more light, vents better, and keeps the winter winds out -- an improvement on many fronts. This was also my first real experiment with a sort of fashion look that isn't really a reflection of my own usual taste; in particular, I think pedestal sinks are just a waste of potential storage most of the time, but in a house like this with so many closets and another full bathroom, it was fun to try out this kind of look. I think it worked out well. This photo really looks like my design board too!