Ok, I've managed to let a whole year go by without updating anything since the start of demo. In part that's because this project dragged on so long that I lost heart, and then the flurry of life sort of buried it. But I finally got all the photos processed and uploaded, and I want to fill in some of the blanks. However, since I'm not doing this in any semblance of real time, I'm not going to do it by bulk chronology. Instead, I think I'll take one room at a time and show how it developed, what the issues were, and how it came out. This is sort of a fun way to tell the story anyway, so I hope it will make for fun reading. Will see what approach I prefer for the next house in the pipe.
But first a little multi-room story about unexpected structural work. When
last we saw the house, all the appliances and wall coverings had been stripped out, but we had yet to progress from there. The kitchen became the starting point for a major structural project: the rear wall had essentially failed over the last decade(s), and the entire shed (the addition comprising the kitchen, 2nd floor bathroom, and 3rd floor roof deck) was showing the effects.
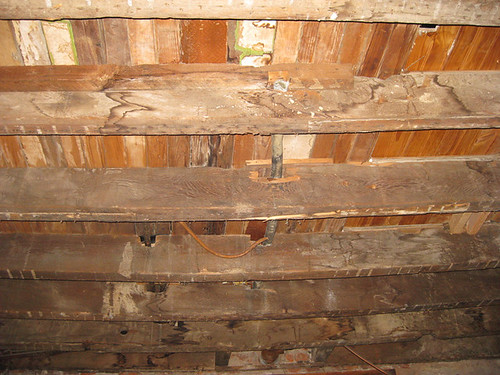
Specifically, the joists were bowed, as you can see in the photo of the kitchen ceiling above. There had been water damage down that wall from top to bottom, and the wood was doing its best but needed help.
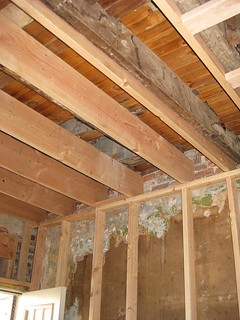
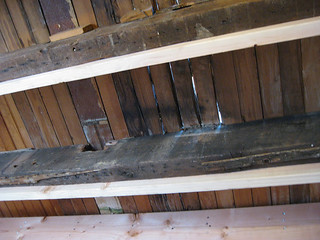
So once we had the place gutted, everything came to a halt while we rebuilt the framing from the basement up. That means all new studs supporting all new joists, "sistered" (bolted) to the existing ones to be sure everything above that was sturdy.
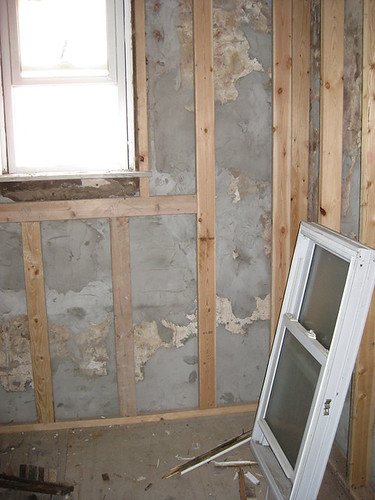
On the floor above, in the bathroom, was where a lot of the damage was visible (see the Story of the Bathroom, to follow) once we took the shower stall out. So, continuing the kitchen work, we put new studs along the side walls but also reinforced the masonry from the outside with new stucco and from the inside with strips of wood bolted to the bricks and running in a grid across the wall.
The work continued across into the rear bedroom, just for safety sake. Want to be sure this place is solid enough for the next few generations to be raised there!
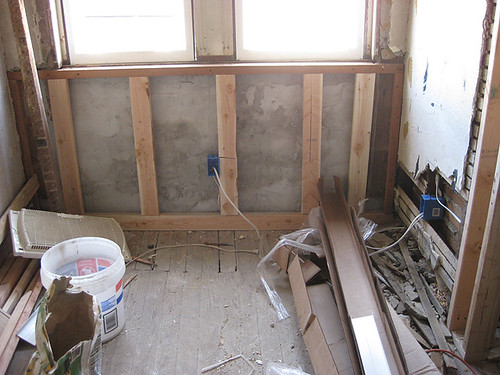
These photos capture only a fraction of the work done to reinforce all the walls of this part of the house, but they give a sense. This was a lot of unplanned expense, but often the most important decisions a rehabber makes are the ones the buyers will never see. No point in putting beautiful finishes into a house that's falling apart!
No comments:
Post a Comment