Showing posts with label flooring. Show all posts

Tuesday, October 6, 2015

Quick take: A story of floors

When I look at possible flips, I do a lot of peeking under grim old carpet in hopes of finding good floors. That seemed to be the case here, so I planned to refinish the floor everywhere. However, it didn't play out quite as imagined, but in three different ways:
The first floor
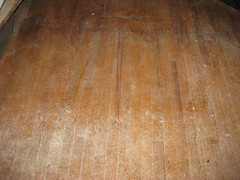
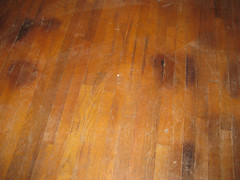
The first floor had modern wood flooring, which appeared to be in good shape. LR_floorsHowever, as seen during our demo phase, you're always seeing it pretty dusty, so it can be hard to envision just how it's going to turn out. I had to wait a long time to even get a good look at the floor, free of carpentry equipment and other obstacles. The story then was a bit mixed: it looked good overall, but had some distinct spots in the dining room area taht couldn't be ignored.

LR_floor
LR_floor_spots

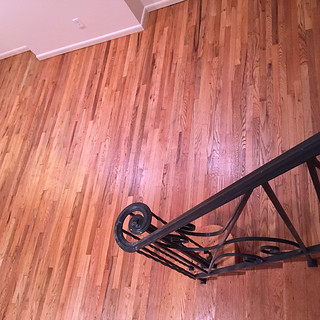
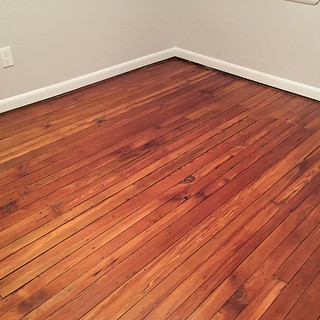
So my contractor and I agreed that the floor guys would try to sand out the spots as much as possible, and then stain if needed up to a middle reddish brown to minimize the spots without changing the character of the wood. Imagine my happy surprise when I arrived one day to this!

LR_floor_fromstairs

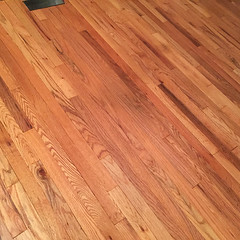
Turns out that the spots sanded out beautifully, and basically they could finish the floors with no stain at all. Never expected all that nice variation in the color of such a basic flooring! w00t!
LR_floor_closeup

Upstairs, the lesser bedrooms
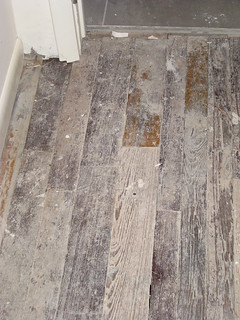
In the end, neither of the 2nd floor bedroom floors could be refinished. In the rear bedroom, part of the length was an addition, which meant that the floor was composed of a nonmatching patchwork of wood that would never make a unified floor. I suspect that there were different woods as well as different widths involved.

BR2_floor

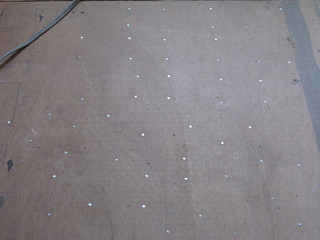
Meanwhile, in the front bedroom, somebody at some point chose to cover the floor with plywood, which could have been ok except that they secured it with nails over just about every inch of the floor. Even if we could take it up, the wood underneath would be wrecked.

floor_BR3_2

So I had to content myself with finding some cool variegated gray carpet for these two rooms. However, I held out on the hallways, which turned out to be a good choice.

Hallways and master bedroom
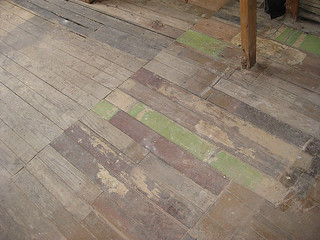
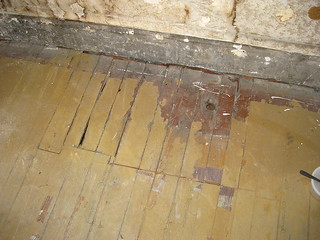
The contractors weren't too encouraging about the remaining floors -- they were reasonably intact, but were also just subfloor, and as a result couldn't be expected to look anything like finished surface flooring. But they seemed solid to me and had some character, so I got them to do a little patching and then finish it all. Here are some Before shots:

hall_floor_dark
The hallway right outside the bathroom

floor_cuts(MBR)
Master bedroom, one of several "hatch" cuts that needed patching.
(we stole floor from other rooms for that) Floor painted here.

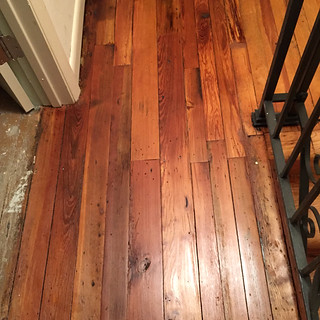
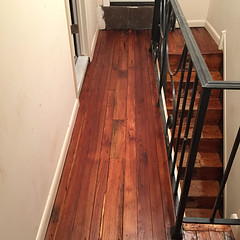
And here is where it ended up after sanding and finishing with a clear satin finish. First, that homely hallway:

floor_hall2

And then that big expanse of master bedroom floor:

floor_MBR

I just about cried when I saw how beautifully this disparaged little subfloor turned out! The irregularities are just reminders that you're living in a house that's probably over a hundred years old. I (and most of the people who saw the place) love it.

Here are just a couple of extra shots to fill out the picture. First, the hallway outside the master bedroom (leading to the roof deck door), as nice as the one below:

floor_hall3

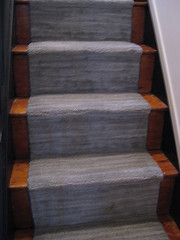
And finally, when the steep stairs from the second floor to the third were too damaged on the risers for a good refinish, I avoided carpet by putting in a runner to hide the damage and add some modern pizzaz:

stairs_runner2

So that's it for flooring! Should be able to continue the room-by-room saga in my next installment.

Monday, September 1, 2014

Demo I: First floor chaos

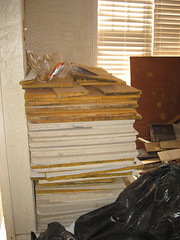
Well, when demo gets underway, it's a rush of destruction, with lumber, brick, and rolls of carpet piling up at the bottom of the stairs. I wasn't even sure the guys had started yet when I visited the house and was greeted by this:
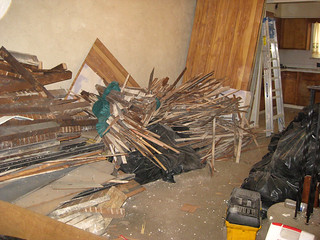
LR_lumber3

Needless to say, they were well underway pulling out the fake wood paneling and other crumbling bits upstairs. It probably took a week or more overall (with separate stops for, say, giving all the kitchen cabinets to Habitat), but it's just a stream of brick-filled bathtubs out into invisible trucks meantime...

Here are a couple more shots of the rubble:
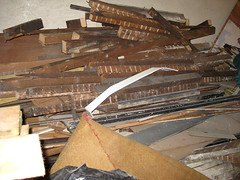
LR_lumber1 . LR_lumber2

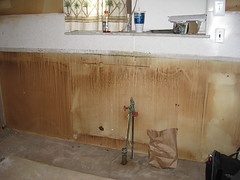
But a lot of the transformation is in the details.kitchen_nocabinets_C For example, here (left) is the main wall of the kitchen with no cabinets! Not clear if we're seeing discoloration on the lower section back there or just something before the last paint color, but anyway, kitchen_nocabinets_Lthere were also suspended bits of fake brick attached in midair, which I enjoy. (Honestly, I enjoy seeing the bones behind everything.)

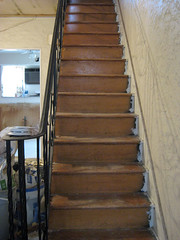
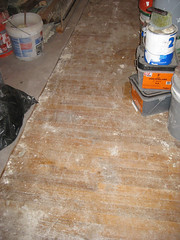
Here's some other stuff going on around the first floor. First, have seen the wood under all that carpeting, and it's pretty nice -- no inlay this time, but seems like it will clean up well, which is great.LR_floors The photo at right is a partial view under the demo dust, but the whole under-padding has been rolled back now, and it seems like there are just some mild discolorations in the diningroom area, so I'm hoping that it's all amenable to a light sand and stain -- will be consulting with my contractor to confirm this week.stairs_nocarpetThe next pic is of the de-carpeted stairs, which look mostly great, although originally there were more bars in the bannister, so we may have to decide whether to plug the resulting notches or not. Wood-wise, though, it's all very promising, for which my pocketbook is grateful. The hallways seem similarly ok, although there's been some wear (and some eras of paint!) up there. Bedroom floors are a different story, which I'll cover when I get up there.

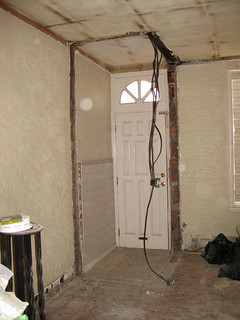
The biggest development on the first floor happened toward the very end of last week, when the vestibule was pulled out (see prev. view here). It looks a little crazy with that wiring dangling where it used to be embedded in a wall, but the space immediately feels bigger and more natural, so I'm very excited about this choice and how things will look when we patch it all up again.
vestibule_gone

Not to mention actually getting the benefit of light from that transom window! All very nice. Anyway, most of the crazy stuff is done and the magical specialists of electricity, plumbing, and HVAC are working their wiles this week while all the walls are wide open, before the drywalling starts up the following week. No sitting around on this project! Deadlines will be kept! (yay!!)
Friday, June 6, 2014

Unveiling of the floors (and closets)

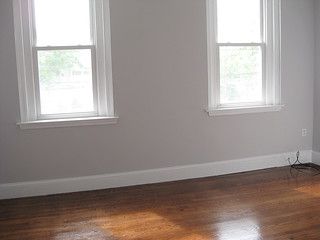
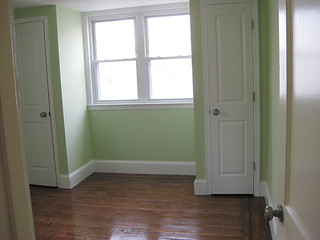
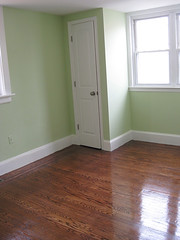
Ok, the paper finally came up. The floors look pretty gorgeous, although my contractor did make everything a much darker shade than I had anticipated or wanted (to hide some ancient dog pee or something) -- luckily he made the downstairs lighter, so the inlays all around the edge of the room show up better there. Anyway, I realized I'd never shown how all these new closets and general paint/trim was looking, so these "empty room" photos are covering all of that ground too.

MBR_empty

Here's the master bedroom, in a lovely shade of light grey, with shiny floors in all their glory. The bookcase in this room wasn't done until literally after the staging furniture was already installed, but you can at least see the look of the closet (from the outside), with french doors and graceful handles. This room has really turned out as all I envisioned.

MBR_closet_closed

Here's the other main bedroom, in lovely prairie grass green, with its matched pair of closets.

green_BR_empty2

If you blow up this second shot, you can see that the inlay around the edges of the room still shows, despite the dark stain -- hooray for retaining some history!

green_BR_empty

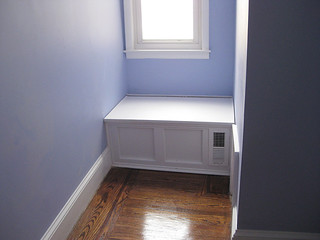
It's hard to take a good picture of the middle bedroom, since the closet is just inside the door and there's not that much else to show (blue paint and white trim). So I'll beg your indulgence for another window seat picture, just to get the window and floor in there too.

windowseat_final
I guess that means that all that's left is to unveil the staged listing photos, and then I'll finish up with some power before-and-after comparisons. But I'm taking a little vacation first, so you'll just have to wait!

Tuesday, February 4, 2014

More demo, just for the fun of it

A few more photos I hate to skip:
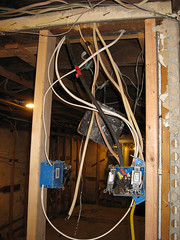
  • Here's a chunk of new and old wiring in the basement, waiting to have a wall to cling to again. This is an amusing mass of switches controlling two different rooms -- entertains me every time I grab one to flip it on (but only one of many reasons my kid isn't making many visits to the house right now!)...

    wiring_wall
  • This is more detritus from basement demo -- pieces of chimney pipe (the whole chimney needed to be cleared of debris and relined by chimney guys), some radiator piping, et al. I think that orange machine might have played a key role in grinding up the crazy plaster/wire ceiling.

    Bits1
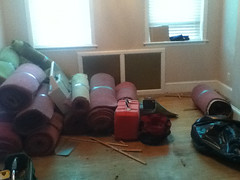
  • Here's a victory shot of all the red carpet once it was removed from the living room floor and stairs, along with the tired green underpad. I guess I took this picture pretty early -- the radiator grille is still visible back there, where now is only a gaping hole...

    carpet_rolls
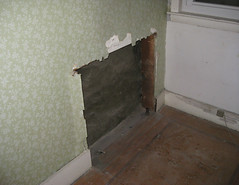
  • Speaking of holes, here's a sample of the post-radiator look. These aren't the classical windy pipe radiators of my own youth (like this), but the kind that use a dense row of metal flaps to disperse the heat (like this), all set into large metal boxes within the walls (to varying degrees).

    radiator_hole
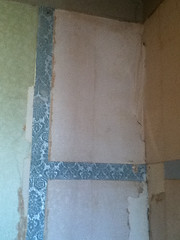
  • I also quite like this photo from the middle bedroom after we pulled out the offending closet.

    BR_archeology

    You really get a sense of the many lives of old houses, as this archaeology uncovers multiple layers of wallpaper and room layout. The oldest stuff in this house is lathe-and-plaster; other parts are drywall, and still others are just smoothed-over exterior wall material. (Nobody wants to sacrifice living space for the luxury of unnecessary framing!) Fun.

Saturday, February 1, 2014

Happy news on closing day: Under the rugs!

Most older South Philly houses can be assumed to have started their lives with wood floors, but their current states, when the house is carpeted, are unknowable. There could be rough historic floors, or more refined floors, or completely ruined or removed floors. Thus, you have to be prepared for either refinishing a floor or laying a new one, if your goal is the polished hardwoods that seem to be universally desired.

So, holding my breath, on the afternoon of closing (as various servicefolks wandered here and there), my contractor and I pulled up a corner of the carpet to see what we had. And the news is good!!

LR_floor!

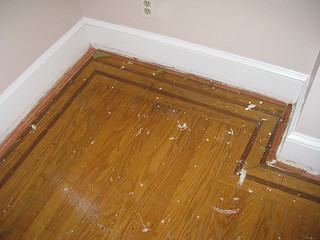
The floors are in great shape (a little paint splatter will sand off in the first second), nice oak, and even have a decorative inlay. I've seen this kind of floor before, but it's so much more than I was hoping for here!

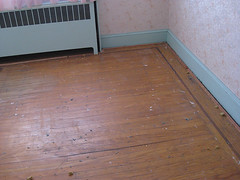
BR3_floorsEven the back bedroom, which seems to be a later addition to the house (it's a shed over the kitchen, with siding), has a matching floor, although you can see a worn/damaged spot that will justify the refinishing plan (there's a similar spot that was under the bed in the master bedroom, presumably from a pet accident), and the hallway and stairs are all on board. So a savings and a win as well!

I will admit that I wish I'd seen all this a bit sooner. I tend toward the modern in picking my finish, and somehow that inlaid wood seems to ask for something else. Am considering putting an oiled bronze fixture in the dining room, just to bridge the stair railing and this somewhat historic floor style to the nickel I use everywhere else, but haven't yet decided. You gotta stay flexible in your vision when there are always so many unknowns in a house!